![]()
Do you find yourself switching between different email signatures when you use Outlook? In today’s tutorial, we look at how to set up and manage different Outlook email signatures using Quick Parts and AutoText.
Before we begin, we are using Outlook 2010 for the tutorial. Other versions of Outlook might differ slightly, but you’ll be able to find your way.
What are Quick Parts and AutoText?
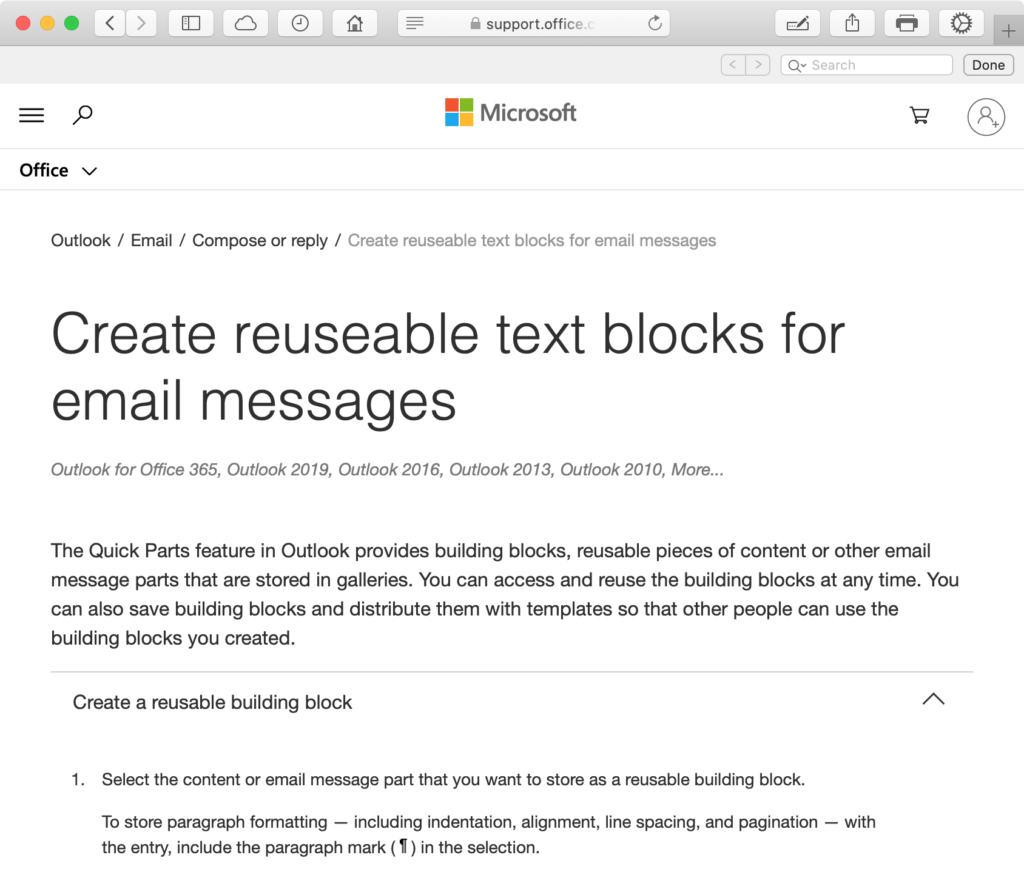
According to Microsoft’s official guide, the Quick Parts feature in Outlook provides building blocks, reusable pieces of content or other email message parts that are stored in galleries. You can access and reuse the building blocks at any time.
AutoTexts are a subset of Quick Parts.

How to Set up Email Signatures Using Quick Parts and AutoText
-
- First, start a new email and type out the signature you desire
- Then select and highlight the signature and press Alt + F3
- In the Create New Building Block box, give the new signature a name and a description. Maybe put it in its own category too, for example, a signatures category


Managing Email Signatures in Quick Parts
-
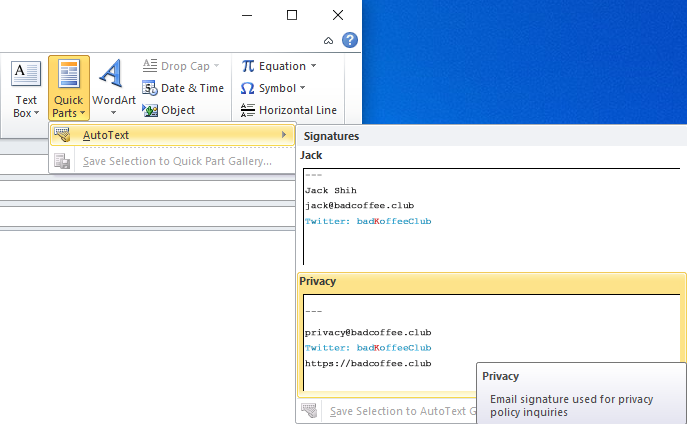
- To see a list of your current email signatures created as AutoTexts, start a new email and click in the email body
- Go to the Insert tab, click on Quick Parts, then AutoText, and you’ll see all your AutoTexts here including all the signatures
- To insert any of the signatures, just click on them
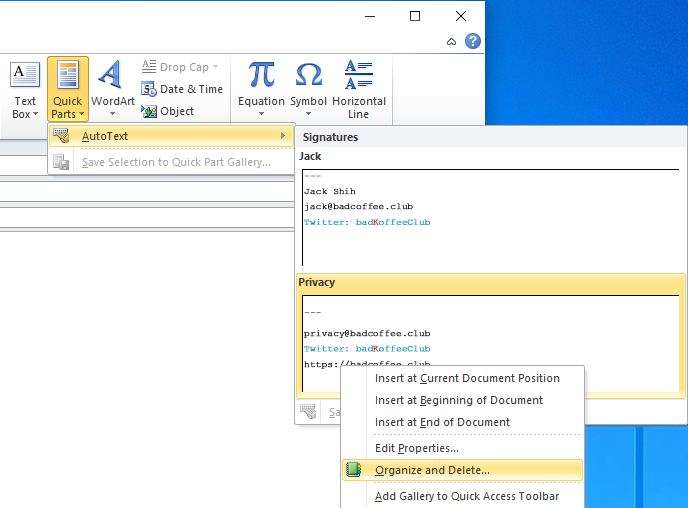
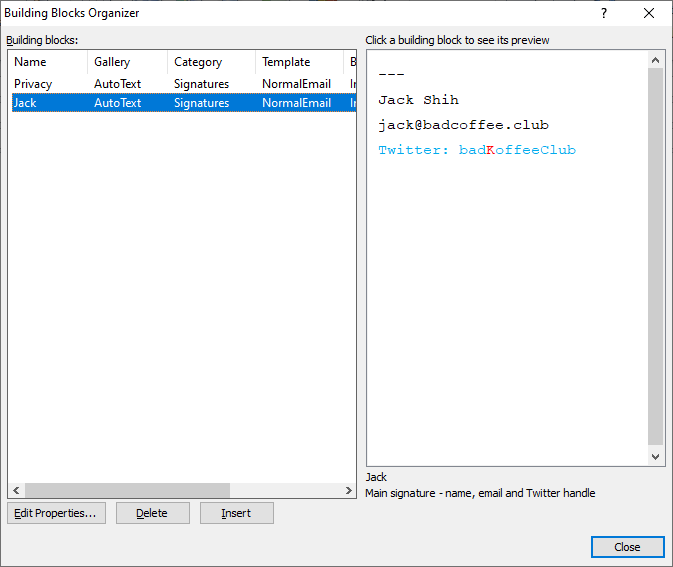
- To manage the AutoTexts and signatures, right-click on any of them and select Organize and Delete
Inserting Signatures in Email Messages as You Compose Them
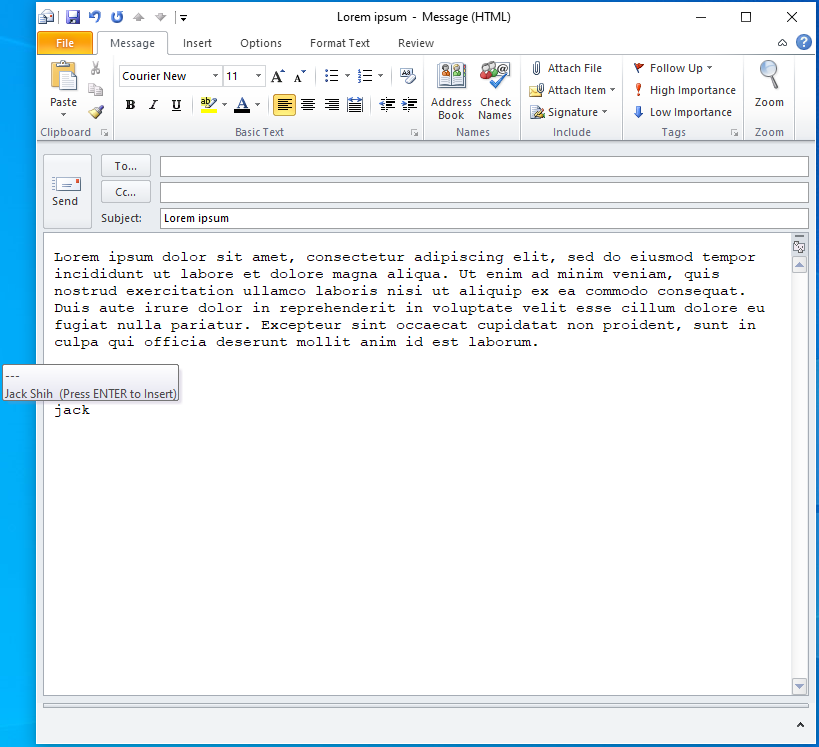
With different email signatures saved as AutoTexts, you can quickly insert any of them as you are typing out your email messages.
When you are ready to close an email and insert the signature, just simply start typing the name you gave the signature. You’ll see a prompt that says “Press ENTER to Insert“.
Press either Enter or Tab and your signature will be inserted.

One More Thing
Moreover, what you have read in this post works with any building blocks saved as AutoTexts.
For instance, say you often get a certain type of inquiry, and you have developed a template message for it. Why not save the template message as an AutoText. Next time you get the same inquiry, just type the name of the AutoText and hit Enter or Tab. With that, your reply will be ready to go.
Lastly, if you would like to read Microsoft’s guide on how to create reusable text blocks for email messages, here’s the link.
However, if you indeed read Microsoft’s guide, did you find their typo hiding in plain sight? Let us know in the comments!