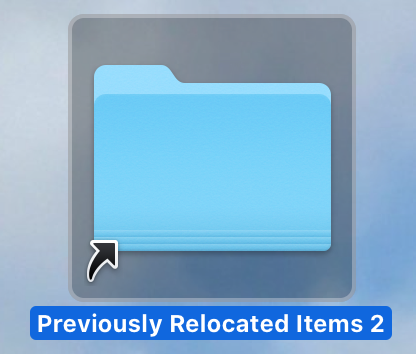
Previously Relocated Items
If you recently upgraded to macOS Catalina, you might notice a new shortcut on your desktop called Previously Relocated Items.

The folder is located under Users/Shared, and it’s usually not very large. For me, it was just 1 MB. As part of the public beta program, I upgraded a couple of times, so I have three Previously Relocated Items folders.
In the folder, Apple has a note explaining what the relocated items are. Well, in short, they are files Apple did not know what to do with during the operating system upgrade.
Even if the folders do not take up much space, I wanted to delete them, because to me they serve absolutely no purpose. I dragged them to the Trash and then tried to empty it, and it wouldn’t let me.
Some quick online research says with macOS Catalina, the operating system and your data reside on different volumes for security reasons. The operating system now has its own volume called Macintosh HD, while your data lives on another volume called Macintosh HD – Data. This is just so that data can not mess with the operating system.
In the process of creating the new volume, the files in the Previously Relocated Items folder were thrown into limbo, and you as the user have to decide their fate. You could just delete the shortcut on your desktop and leave the folder alone, but if you try to delete the folder too, Apple will throw something called System Integrity Protection (SIP) at you and not allow you to empty the Trash.
Disable SIP to Delete Previously Relocated Items
Here’s what you can do. You can temporarily disable SIP to delete the Previously Relocated Items folder, and then, of course, you’ll want to turn SIP back on once you are done.
A word of warning, the site, and the author are not responsible for any possible damage or data loss resulted from this process.
Follow these steps to disable SIP:
-
- Restart your machine and hold down the Command and R keys at startup to Boot to Recovery OS
- Launch Terminal from the Utilities menu.
- Type in the following command and hit Enter:
csrutil disable
Now you can reboot your machine and empty the Trash.
Remember to enable SIP again following the exact same steps, just with a different command
csrutil enable
Reboot your machine again and you are good to go on your merry way.
How was your macOS Catalina upgrade experience? Are you enjoying the new OS? Let us know in the comments!
