The Dreadful Not Enough Space Prompt
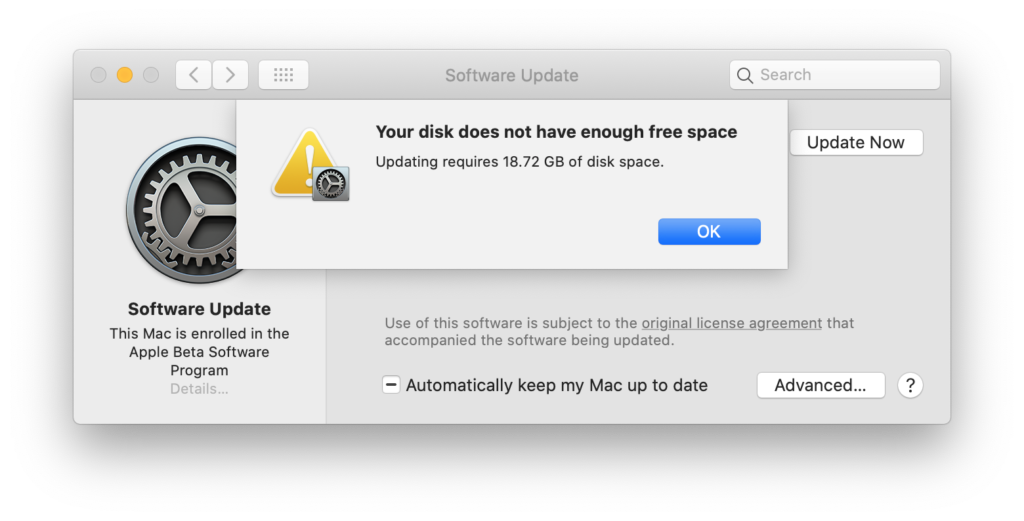
Of all the prompts an operating system can throw at you, “not enough space” is probably the most dreadful and annoying. In my attempt to upgrade to macOS Catalina public beta 9 today, I had the displeasure of seeing this very message.  As you could imagine, I tried having the operating system itself fix the issue. It didn’t work, as you probably could also imagine.
There is really not much the operating system could do. After all, I did cheap out on storage space in the first place. 
 Third-party apps aren’t much help either. Dr. Cleaner could free up a bit over 500 MB, but that is not nearly enough.
Optimizing iCloud Photos
If you look at the very useful visual display of a typical Mac’s storage space, you’ll notice the Photos app is usually eating up a big chunk of it, in my case, 18.5 GB of the measly 121 GB.  The Photos library does not necessarily have to live on the hard drive. Apple recommends putting the originals on iCloud while keeping smaller-sized copies locally, with the originals available for download when necessary, and thus optimizing the storage space. Apple calls this Optimizing iCloud Photos.
Optimizing iCloud Photos gives us a lot of free space to work with, and we are now able to download the macOS public beta.


One More Thing
Optimizing iCloud Photos does not always get you where you want to be. If you need even more space, you could completely delete the Photos library, do whatever you need to do with the space, and then create a new Photos library from scratch once you are done.
However, deleting the Photos library is only meant to be used as a last resort workaround. Even though I consider it safe, you’ll need to do this at your own risk.
Before trying this, make sure all your photos and videos have been uploaded to iCloud. Open the Photos application, scroll down to the very bottom, if you see anything being uploaded, wait for it to complete.
With everything uploaded to iCloud, go to Preferences to locate your Photos library and delete it. Empty the trashcan too.
You’ll get a prompt saying the Photos app needs to quit. Worry not and quit the app. We’ll create a new Photos library next. 
 Once you are done having fun with the extra space, launch Photos. The app will remind you that the library could not be opened.
  Click on Open Other and then Create New.
 In the next window, create the new Photos library in the default Pictures folder. If there’s already a file named “Photos Library” in the folder, go ahead and delete it.
 Set the newly created library as the “System Photo Library“. You’ll get a warning saying this will turn off iCloud Photos. Click on OK and again worry not because we’ll turn it back on next.
  Go to iCloud in the Photos app Preferences window. Make sure “iCloud Photos” is selected. Feel free to select either “Download Originals to this Mac” or “Optimize Mac Storage“.
 Your photos and videos will download in the background even if you don’t have the Photos app open.
If you came across this post because you were looking to quickly free up a large amount of storage space on your Mac, let us know how it worked out by leaving a comment!
