Ever had the need to share files wirelessly between two computers? In today’s tutorial, we look at how to access files stored on a PC running Windows 10 from a Mac running macOS Catalina.
To begin, both computers need to be on the same Wi-Fi network.
-
- On the PC, click on the Wi-Fi icon on the taskbar at the bottom of the screen to see which network it is connected to
- On the Mac, the Wi-Fi icon is located on the menu bar on the top of the screen
- Once we confirm both computers are on the same network, follow these three steps to enable file sharing on the PC.
-
- Right click on the folder we want to share and then select Properties
- In the Properties window, go to the Sharing tab and click on Share
- In the Network access window, click on Share to confirm the action
We will be accessing the folder on the PC from the Mac using Microsoft’s SMB (Server Message Block) protocol. To do that, we need the PC’s IPv4 address which we can find following these two steps.
-
- Click on Properties on the Wi-Fi network the PC is connected to
- In the Settings window that appears, scroll down to the bottom to find the IPv4 address

Alternatively, we could do an ipconfig in the Command Prompt to find the IPv4 address.

In addition to the IPv4 address, we also need our account name and password for the PC.
Now let’s head over to the Mac and follow these steps to access the folder we just shared on the PC.
-
- Open Finder and press Command (⌘) + K
- In the Connect to Server window, type in the PC’s IPv4 address and click on Connect
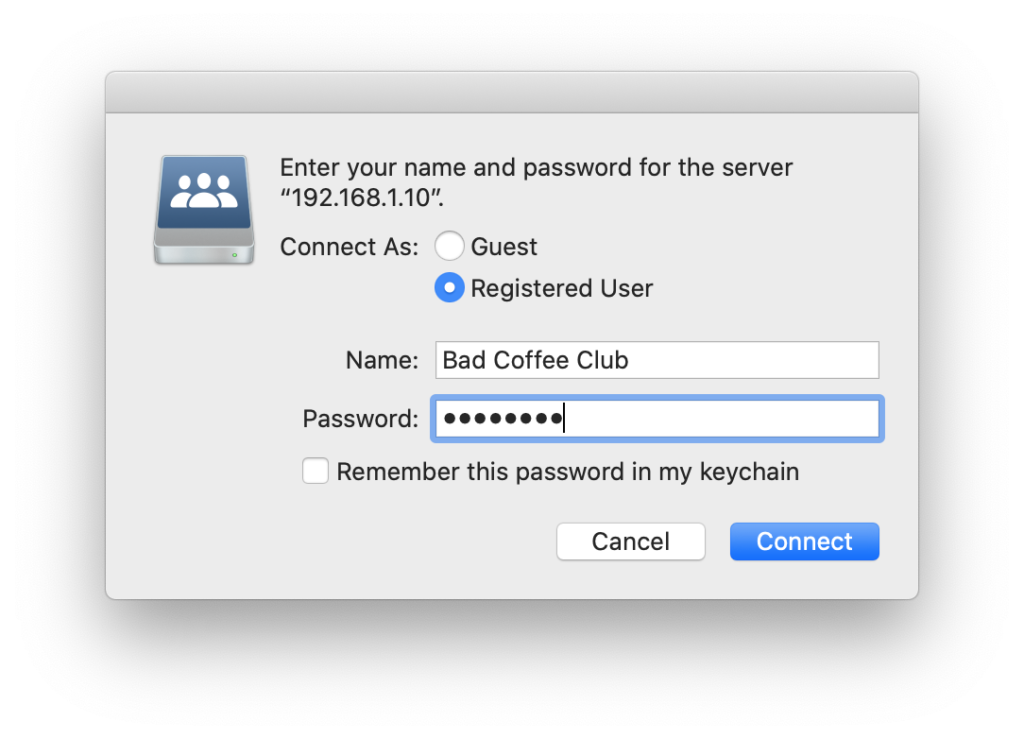
- Type in the account name and password for the PC (not the Mac ID and password)
- Select the shared folder and click on OK and Voilà!
In today’s tutorial, we looked at how to share files wirelessly between a PC and a Mac on the same Wi-Fi network. Do you find this quick tutorial useful? Got a question you want to ask? Let us know in the comments!


