If you are a frequent visitor of this website, there’s a good chance you are a Mac user. Apple’s macOS is known for its ease of use and out-of-box experience. However, you can still do a few tweaks here and there to get yourself a better experience.
These tweaks are usually small things, like changing a trackpad setting.
The devil’s in the details they say.
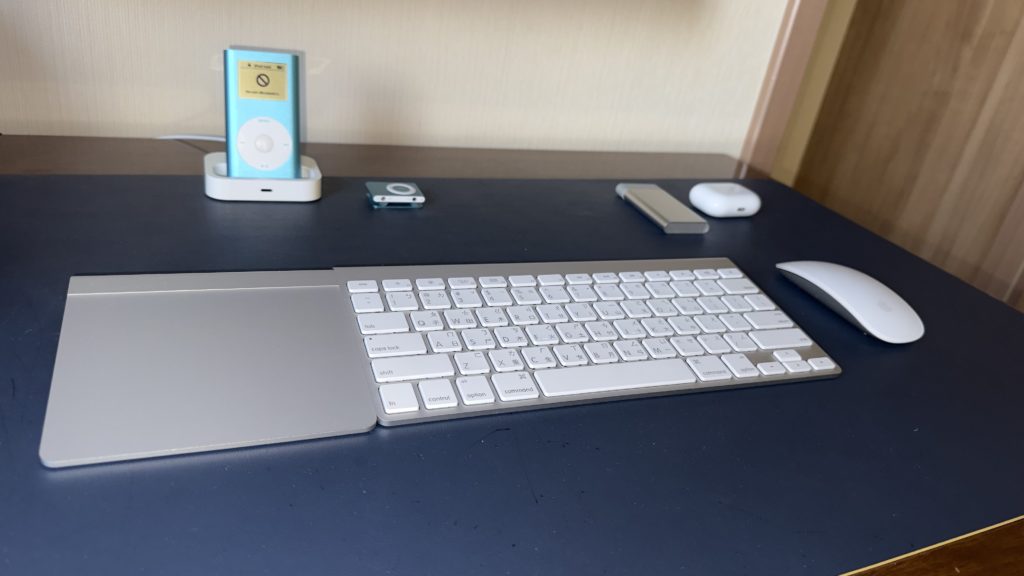
One of the things you can do with a Magic Trackpad is drag windows, well, windows, NOT Windows, around on the screen with three fingers. However, while I’m sure there is a pretty good reason, or even an Apple history lesson behind it – whatever that might be, this setting is not on by default.
If you look under Trackpad settings, you won’t be able to find it either.
Instead, the “Use trackpad for dragging” setting is tucked away in Accessibility settings.
To enable “Three Finger Drag” on your Magic Trackpad, follow the steps below.
- Open System Settings and go to Accessibility
- Click on Pointer Control under Motor
- Click on Trackpad Options
- Toggle on “Use trackpad for dragging” and select “Three Finger Drag” for Dragging style
That’s it! That is how you make your Magic Trackpad easier to use and more helpful! I’m still rocking the 2010 1st generation Magic Trackpad that takes 2 AA batteries, and Three Finger Drag works perfectly on it!
Want to find out more settings you can change on a new Mac? Check out this post of ours!

Pingback: Using a Mid-2014 Retina MacBook Pro in 2025 - Bad Coffee Club